

Easy3DPhone

Perihal Easy3DPhone
Easy3DPhone is an educational app, oriented to students interested in 3D design. This app does not pretend to compete with other pc commercial products, its goal is merely educational.
Easy3DPhone follows the well known conceptual guidelines and procedures typical of 3D applications like SolidWorks or other CAD programs.
It is very important to understand the basic principles used in these applications like the procedures and steps followed to create models in any position or orientation.
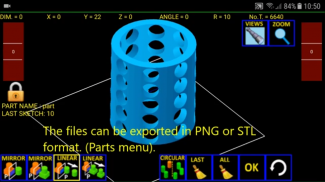
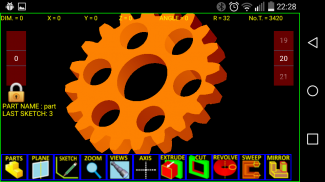
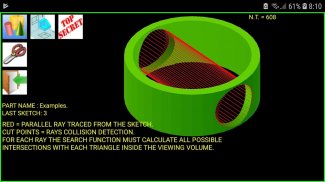
To begin with the first piece sketch, offer basic isometric views: Front, Top and Right. Once the initial plane is chosen, we open a new sketch associated to it, and already linked to the 3D space. In this plane we will draw the first sketch. Every sketch is made up with primitive graphics (Line, Spline, Arc, Circle ,Polygon,...).
Each sketch takes an associate volumen features (Extrude, Revolve, Sweet,...).
Once we have created the first solid, we can use it for performing successive sketches located at the surface, behaving like the previous planes or creating a new one selecting an edge and the angle, or using an auxiliary line on one of the surfaces, or ...).
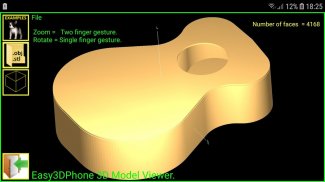
We call Part to the solid made up with various sketches, to which we have already applied the volume operation. We can give texture or use the color palette individually for each sketch.
Tutorials in: http://jovalmo48.wix.com/easy3dphone
Easy3DPhone adalah aplikasi pendidikan, berorientasikan kepada pelajar yang berminat dalam reka bentuk 3D. Aplikasi ini tidak berpura-pura bersaing dengan produk komersial pc yang lain, matlamatnya semata-mata pendidikan.
Easy3DPhone mengikuti garis panduan konsep dan prosedur konseptual yang terkenal seperti aplikasi 3D seperti SolidWorks atau program CAD lain.
Adalah sangat penting untuk memahami prinsip-prinsip asas yang digunakan dalam aplikasi seperti prosedur dan langkah-langkah yang diikuti untuk membuat model dalam kedudukan atau orientasi apa pun.
Untuk memulakan lakaran sekeping pertama, menawarkan pandangan isometrik asas: Barisan Depan, Atas dan Kanan. Setelah pesawat awal dipilih, kami membuka lakaran baru yang berkaitan dengannya, dan sudah dihubungkan dengan ruang 3D. Dalam pesawat ini kita akan melukis lakaran pertama. Setiap lakaran dibuat dengan grafik primitif (Line, Spline, Arc, Circle, Polygon, ...).
Setiap lakaran mengambil ciri volum bersekutu (Extrude, Revolve, Sweet, ...).
Sebaik sahaja kami telah mencipta pepejal pertama, kami boleh menggunakannya untuk membuat lakaran berturut-turut yang terletak di permukaan, berkelakuan seperti pesawat sebelum ini atau membuat yang baru memilih kelebihan dan sudut, atau menggunakan garis tambahan pada salah satu permukaan, atau ...).
Kami memanggil Bahagian untuk pepejal yang dibuat dengan pelbagai lakaran, yang mana kami telah menggunakan operasi volum. Kita boleh memberi tekstur atau menggunakan palet warna secara individu untuk setiap lakaran.
Tutorial dalam: http://jovalmo48.wix.com/easy3dphone


